How to run an InfluxDB instance

In this article, you can find instructions on installing and starting an InfluxDB database server with the WebApps platform. InfluxDB databases are designed for collecting, storing, processing, and visualizing data related to a given moment in time. Such databases are known as Time Series Database (TSDB). They are very efficient for analyzing events or data in chronological order as data can be collected simultaneously from different sources.
Here are some sample usages for data that can be stored in these databases:
- Data from industrial sensors
- Stock prices
- Electrical activity in the brain
- Rainfall measurements
- Server performance metrics
If you would like to learn move about InfluxDB databases, you can check the official documentation.
There are also database which can be used for handling time-series data with special settings. For example, MongoDB can be used for working with time-series data. You can find instructions on how to run a MongoDB database in our Running a MongoDB instance article.
Prerequisites
To install InfluxDB, there are a few settings to check and configure on your hosting account.
- There must be a WebApps section in your hosting Control Panel. If you do not see a WebApps section, then this tutorial is not suitable for your particular hosting environment. You can contact us via our ticketing system for further assistance.
- SSH access and Network tools must be enabled for your account via the hosting Control Panel > SSH Access section.
Installation
To install InfluxDB as a web application, you will have to connect to your account via SSH and follow the steps listed below.
- Create a directory for InfluxDB's files (e.g. ~/private/influxdb), and navigate to it with these commands::
mkdir /home/$USER/private/influxdb
cd /home/$USER/private/influxdb - Download the Linux binary for the latest InfluxDB version from the official download page. At the time of writing this article, the latest version is 2.7.6, and the download link for this version is https://download.influxdata.com/influxdb/releases/influxdb2-2.7.6_linux_amd64.tar.gz. To download and extract the archive in your InfluxDB directory, you can use the commands listed below:
wget https://download.influxdata.com/influxdb/releases/influxdb2-2.7.6_linux_amd64.tar.gz
tar zxf influxdb2-2.7.6_linux_amd64.tar.gz --strip-components=1
rm influxdb2-2.7.6_linux_amd64.tar.gz
Note: Make sure you use the URL for the latest InfluxDB version in the commands listed above. - Use the following commands to create a file, that starts the InfluxDB instance when the WebApps project is started, and add execution permissions to the file:
cat <<INFLUXDB_START > /home/$USER/private/influxdb/start.sh
#!/bin/bash
/home/$USER/private/influxdb/usr/bin/influxd --bolt-path /home/$USER/private/influxdb/influxd.bolt --engine-path /home/$USER/private/influxdb/engine --http-bind-address :\$PORT
INFLUXDB_START
chmod +x /home/$USER/private/influxdb/start.sh - Create a WebApp project for the InfluxDB instance using the following sureapp CLI command:
sureapp project create \
--engine "custom" \
--engine-version "-" \
--release-dir "/home/$USER/private/influxdb/" \
--start-cmd "sh /home/$USER/private/influxdb/start.sh" \
influxdb - Choose the URL where you would like to access the InfluxDB application via the WebApps section of the hosting Control Panel by clicking on the Edit button next to the influxdb web application. Select the domain and subdomain where InfluxDB will run via the available drop-down menus on the screen that appears. Apply the changes.
- Click on the Enable button next to the web application to start it.
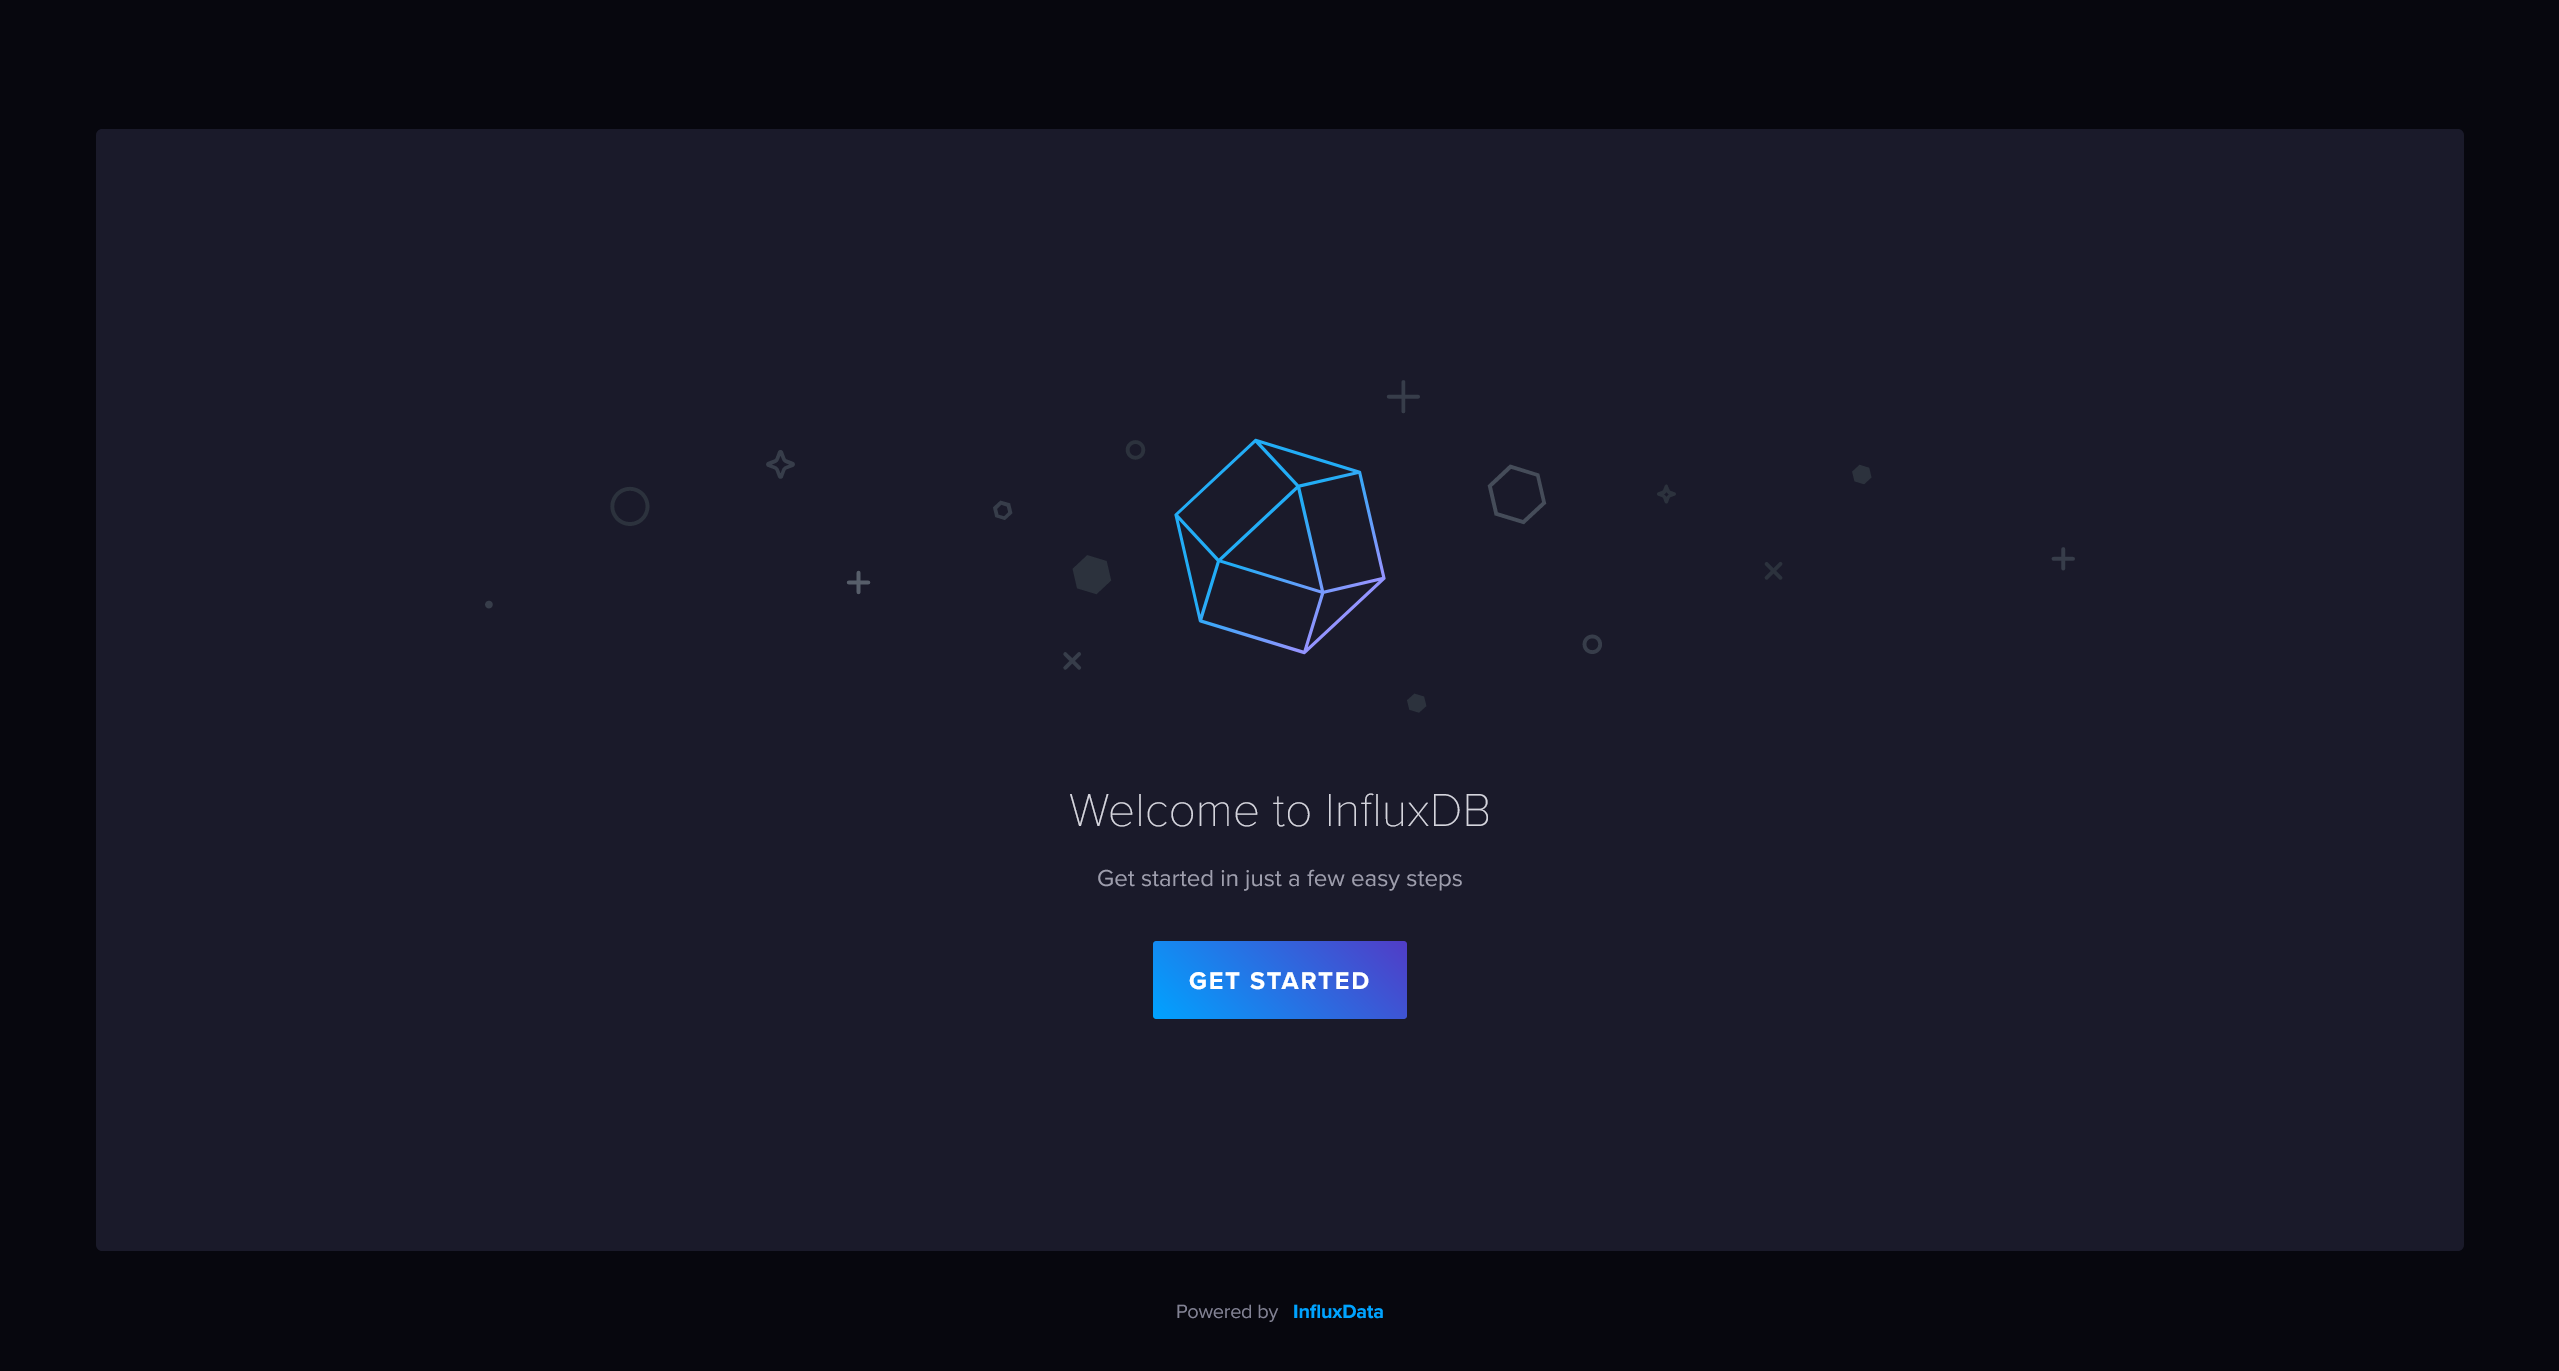
- Open the selected URL for the InfluxDB application (e.g. http://influxdb.example.com) in your browser and follow the setup wizard to complete the installation.
